How to Grease Trailer Bearings the Right Way
A trailer hub that runs hot can turn a routine haul into a roadside repair, damaged spindle, or lost workday. Knowing how to grease trailer bearings correctly protects one of the most heavily loaded systems on your trailer, whether you pull a utility trailer, boat trailer, equipment hauler, RV, or commercial flatbed.
Grease is not just a filler inside the hub. It creates a protective film between the bearing rollers and races, resists water and heat, and helps prevent metal-to-metal contact under load. The right grease and service method can extend bearing life. The wrong method can contaminate a hub, blow out a seal, or leave the bearings under-lubricated.
When Trailer Bearings Need Grease
There is no single service interval that fits every trailer. A lightly used utility trailer stored indoors may only need an annual inspection and repack. A boat trailer regularly backed into water, a landscape trailer used daily, or an equipment trailer operating under heavy loads needs closer attention.
As a practical baseline, inspect trailer bearings at least once a year or every 12,000 miles. Repack conventional hubs more frequently when the trailer sees water exposure, dusty job sites, high speeds, heavy loads, or long towing distances. Check the axle or trailer manufacturer’s recommendation first, especially on newer assemblies with specific grease requirements or sealed bearing designs.
Do not wait for symptoms. A humming wheel, grease on the inside of the wheel, wheel wobble, burnt-grease smell, or a hub that is noticeably hotter than the others calls for immediate inspection. A failed bearing can damage the hub, spindle, brake components, and wheel before you have time to pull over safely.
Choose the Right Trailer Bearing Grease
Trailer wheel bearings need a grease formulated to handle heat, load, and water exposure. A quality high-temperature wheel bearing grease with strong mechanical stability is a sound choice for most towing applications. Synthetic grease can offer advantages in temperature resistance, water washout protection, and consistency across severe operating conditions.
Compatibility matters just as much as performance. Do not mix different grease types unless the manufacturer confirms they are compatible. Thickener systems can react poorly when mixed, causing the grease to soften, separate, or lose its protective structure. If you do not know what grease is currently in the hub, the safest approach is to remove the old grease completely and repack with one proven product.
Marine trailers require extra attention. Water resistance and corrosion protection are priorities when a hub is repeatedly exposed to lake or saltwater launch conditions. For commercial and heavy-haul trailers, select a grease that maintains film strength under sustained load and elevated hub temperatures. Oil Jobber can help operators match high-performance grease to the trailer, workload, and operating environment instead of relying on a one-size-fits-all product.
Tools and Supplies You Will Need
A proper bearing service is straightforward, but clean work matters. Gather a floor jack rated for the trailer, jack stands, wheel chocks, lug wrench, pliers or side cutters for the cotter pin, a flat screwdriver, shop towels, solvent or parts cleaner, new grease seals, compatible bearing grease, and disposable gloves.
A bearing packer is helpful, especially if you service multiple trailers or fleet equipment. You can also hand-pack bearings effectively. Have replacement bearings and races available if the trailer is older, heavily used, or showing signs of overheating. Bearings and races should generally be replaced as a matched set.
How to Grease Trailer Bearings by Hand
Secure the Trailer and Remove the Hub
Park on level, solid ground. Chock the wheels that will remain on the ground, loosen the lug nuts slightly, then raise one side of the trailer and support it securely with jack stands. Never work under or around a trailer supported only by a jack.
Remove the wheel. Pry off the dust cap carefully, then remove the cotter pin, retainer, and spindle nut. Slide the hub toward you. The outer bearing will usually come out as the hub is removed, so keep a clean towel or tray underneath to catch it.
Turn the hub over and remove the old grease seal from the back side. Seals are not designed for reuse. Once the seal is out, remove the inner bearing.
Clean and Inspect Every Component
Wipe away the old grease, then clean the bearings, races, spindle, and hub cavity with a suitable parts cleaner. Do not spin a dry bearing with compressed air. It can damage the bearing or send it flying at high speed.
Inspect each roller for pitting, discoloration, scoring, flat spots, or corrosion. Check the races pressed into the hub for grooves, blue heat marks, cracks, or a dull, worn track. A healthy race has a smooth, even surface. If either bearing or race is damaged, replace both components on that hub.
Also inspect the spindle. It should be smooth with no deep scoring, blueing, or visible wear where the seal and bearing ride. A damaged spindle may require professional repair or axle replacement. New grease will not correct mechanical damage.
Pack the Bearings Completely
Place a palm-sized amount of fresh grease in one hand. Hold the bearing in the other hand and force the grease into the larger open side of the bearing. Press the bearing edge repeatedly through the grease until fresh grease pushes through the spaces between the rollers on the opposite side.
Rotate the bearing and continue until grease is visible evenly around the full circumference. The goal is to fill the bearing cage and roller area, not simply coat the outside. A bearing packer does the same job with less mess and more speed.
Apply a light film of grease to the bearing races inside the hub and to the spindle. Do not pack the entire empty hub cavity solid. Excess grease can churn, build heat, and migrate past the seal. A modest amount inside the hub is sufficient.
Reassemble and Set Bearing Preload
Install the packed inner bearing into its race. Drive in a new grease seal evenly using an appropriate seal driver or a flat block of wood. The seal must sit squarely in the hub to keep grease in and water or dirt out.
Slide the hub back onto the spindle, install the packed outer bearing, washer, and spindle nut. Tighten the nut while rotating the hub. This seats the bearings and races. Then back the nut off slightly and retighten only enough to remove play while allowing the hub to rotate freely.
The exact adjustment procedure varies by axle manufacturer, so follow its specification when available. In general, the wheel should spin smoothly with no roughness and no noticeable side-to-side wobble. Install the retainer and a new cotter pin, bend the pin ends securely, and reinstall the dust cap and wheel.
After tightening the lug nuts to the manufacturer’s torque specification, repeat the process on the remaining hubs.
Grease Fittings and Bearing Protectors: Use Them Carefully
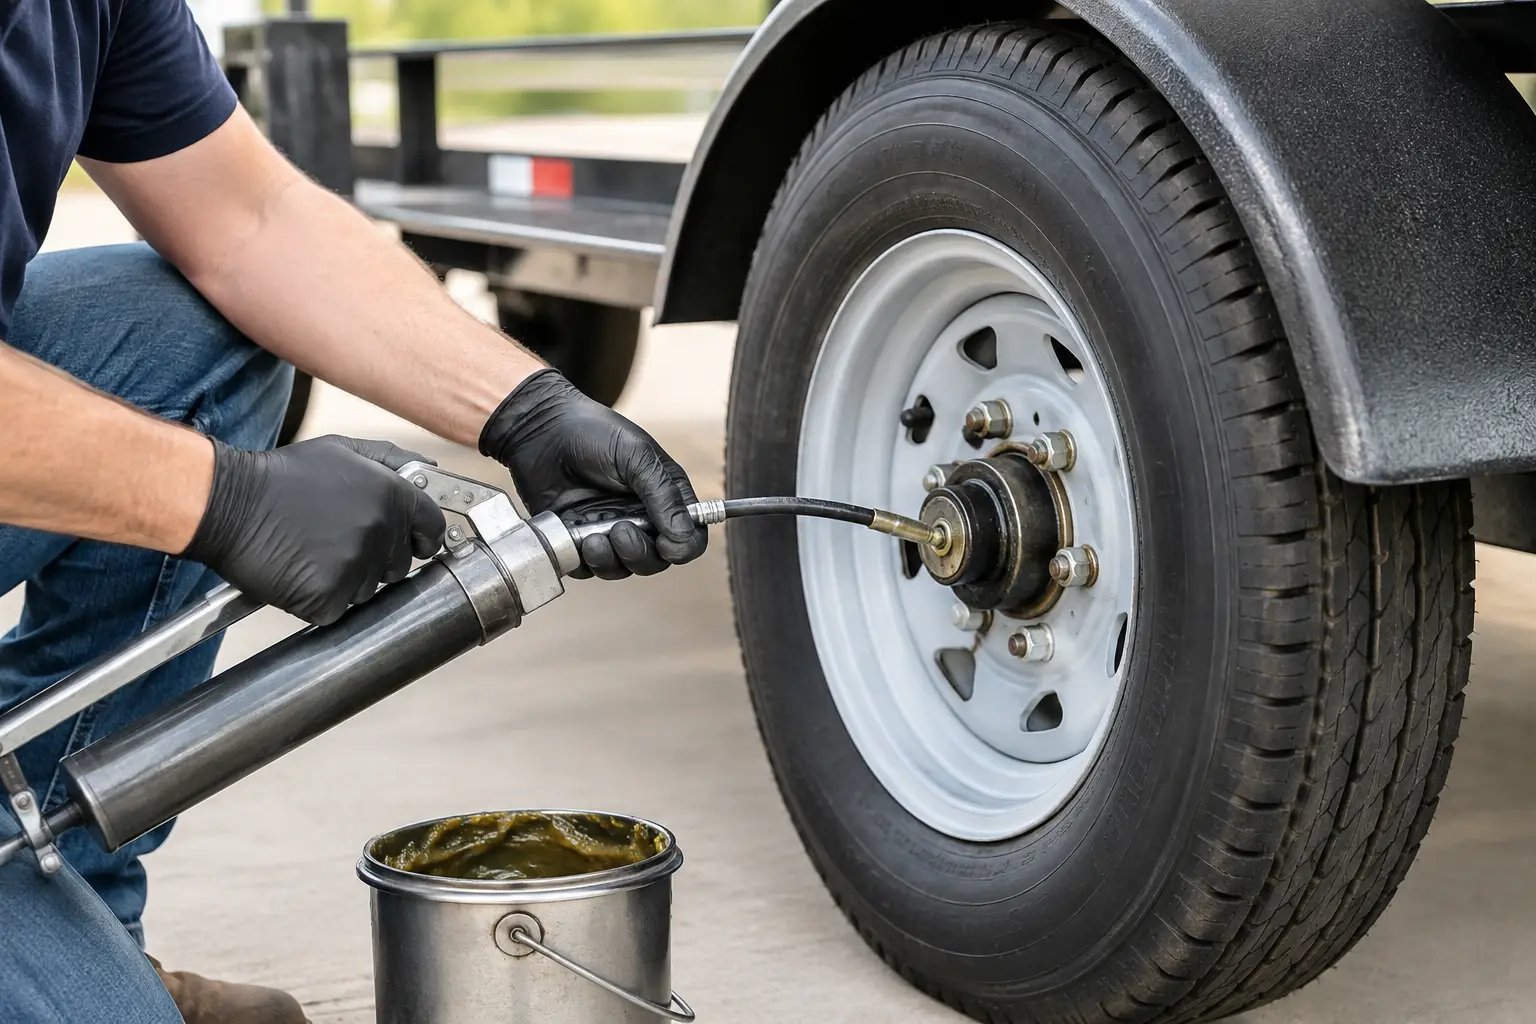
Some trailers use bearing protectors or grease caps with zerks. These make it easier to add grease between full service intervals, but they do not eliminate the need to inspect and repack bearings. You still need to remove the hub periodically to check the bearings, races, and seal condition.
Pump grease slowly. A grease gun can generate enough pressure to push grease past the rear seal and onto brake shoes or brake pads. If your trailer has brakes, that contamination can reduce braking performance and create a more expensive repair. Stop when the protector’s indicator shows proper fill, not when grease begins forcing out everywhere.
EZ Lube-style spindles also require care. Follow the axle manufacturer’s procedure, rotate the hub while adding grease, and watch for old grease exiting properly. If grease appears behind the hub or on brake components, stop and inspect the seal.
Final Checks Before You Tow
After service, spin each wheel and listen for scraping or roughness. Grab the tire at the 12 and 6 o’clock positions and check for excess movement. Take a short test drive, then carefully compare hub temperatures with an infrared thermometer or by holding your hand near, not directly on, the hub. One hub significantly hotter than the others deserves a second look.
A clean, correctly packed trailer bearing is inexpensive protection against downtime, damaged cargo, and preventable roadside failures. Build bearing service into your maintenance schedule before the next long haul, launch day, or loaded jobsite run.